Singer 30215 User Manual
Browse online or download User Manual for Sewing machines Singer 30215. SINGER 30215 User Manual
- Page / 31
- Table of contents
- BOOKMARKS
Rated. / 5. Based on customer reviews
Summary of Contents
Page 1 - Instruction Manual
2 & 5 Stitch Pattern Machines Instruction Manual
Page 2
2 & 5 Stitch Pattern Machines CHANGING PRESSER FOOT To remove presser foot, press lever on back of foot holder. To install presser foot,
Page 3
2 & 5 Stitch Pattern Machines WINDING A BOBBIN Push indent. Raise spool pin. Place felt and thread onto spool pin. Lead thread from spool to back
Page 4
2 & 5 Stitch Pattern Machines Winding Bobbin Continued... Bring thread up and over thread guide to right side. Pull thread down into inden
Page 5
2 & 5 Stitch Pattern Machines THREADING BOBBIN CASE Open hook cover. Take out bobbin case by holding latch. Place bobbin into bobbin case.
Page 6
2 & 5 Stitch Pattern Machines Draw thread under tension spring and into delivery position. (as illustrated) INSERTING THREADED BOBBIN CA
Page 7
2 & 5 Stitch Pattern Machines THREADING MACHINE 1. 2. 3. 1. Turn power off. 2. Raise needle. 3. Raise presser foot. 4. Raise spool pin and Pla
Page 8
2 & 5 Stitch Pattern Machines RAISING BOBBIN THREAD Open hook cover (1). Hold needle thread. Turn hand wheel towards you lowering, then r
Page 9
2 & 5 Stitch Pattern Machines SELECTING A PATTERN Note: To make selecting pattern easier move stitch width to "image" position. Turn pat
Page 10 - Machines
2 & 5 Stitch Pattern Machines Straight Stiitching continued... Guide fabric. STITCHING IN REVERSE Secure beginning and end of seam as shown. Press
Page 11
2 & 5 Stitch Pattern Machines KEEPING SEAMS STRAIGHT Line up fabric with guideline (1) on needle plate. TURNING SQUARE CORNERS When stitching reac
Page 12 - Pattern Machines
2 & 5 Stitch Pattern Machines TABLE OF CONTENTS IMPORTANT SAFETY INSTRUCTIONS PRINCIPAL PARTS STANDARD ACCESSORIES INCLUDED WITH MACHINE CO
Page 13
2 & 5 Stitch Pattern Machines ADJUSTING NEEDLE POSITION Center needle position. Left needle position. Right needle position. ADJUSTING THREAD TENS
Page 14
2 & 5 Stitch Pattern Machines RECOMMENDED SETTINGS AND APPLICATIONS PATTERN APPLICATIONS STITCH LENGTH STITCH WIDTH PRESSER FOOT Straight s
Page 15
2 & 5 Stitch Pattern Machines ADJUSTING STITCH WIDTH Move lever to widen or narrow stitch. ADJUSTING STITCH LENGTH For more density (sho
Page 16
2 & 5 Stitch Pattern Machines INSERTING A ZIPPER RECOMMENDED SETTINGS Stitch Selection: Straight Stitch Stitch Width: Stitch Length: 1.5
Page 17
2 & 5 Stitch Pattern Machines SEWING BUTTONHOLES SETTINGS: Pattern: Zig-Zag Presser foot: Special Purpose presser foot Needle position: Left needl
Page 18
2 & 5 Stitch Pattern Machines CARING FOR YOUR MACHINE TO REMOVE SHUTTLE HOOK Open hook cover. Take bobbin case out of machine. Turn latch
Page 19
2 & 5 Stitch Pattern Machines TO REPLACE SHUTTLE HOOK Hold shuttle by center pin and fit back into hook race. Insert shuttle raise cover i
Page 20
2 & 5 Stitch Pattern Machines REMOVING AND REPLACING LIGHT BULB This machine is designed to use a 15 watt maximum light bulb. Loosen and
Page 21
2 & 5 Stitch Pattern Machines CLEANING MACHINE To ensure reliability, take a few minutes to keep the machine clean. * Using the lint brus
Page 22
2 & 5 Stitch Pattern Machines OILING MACHINE Take face plate away from machine. (refer to page 24) Apply one drop of sewing machine oil o
Page 23
2 & 5 Stitch Pattern Machines INSTRUCTION SYMBOLS To simplify understanding, the following symbols are used throughout the operator's
Page 24
2 & 5 Stitch Pattern Machines Fabric, Thread and needle Table * The table below is a practical guide to needle and thread selections for m
Page 25
2 & 5 Stitch Pattern Machines PERFORMANCE CHECKLIST When sewing difficulties occur look back through this manual to make sure you are correctly fo
Page 26
2 & 5 Stitch Pattern Machines IMPORTANT SAFETY INSTRUCTIONS When using this machine, basic safety precautions should always be followed including
Page 27
2 & 5 Stitch Pattern Machines IMPORTANT SAFETY INSTRUCTIONS continued... * Never operate the machine with any air openings blocked. Keep ventilati
Page 28
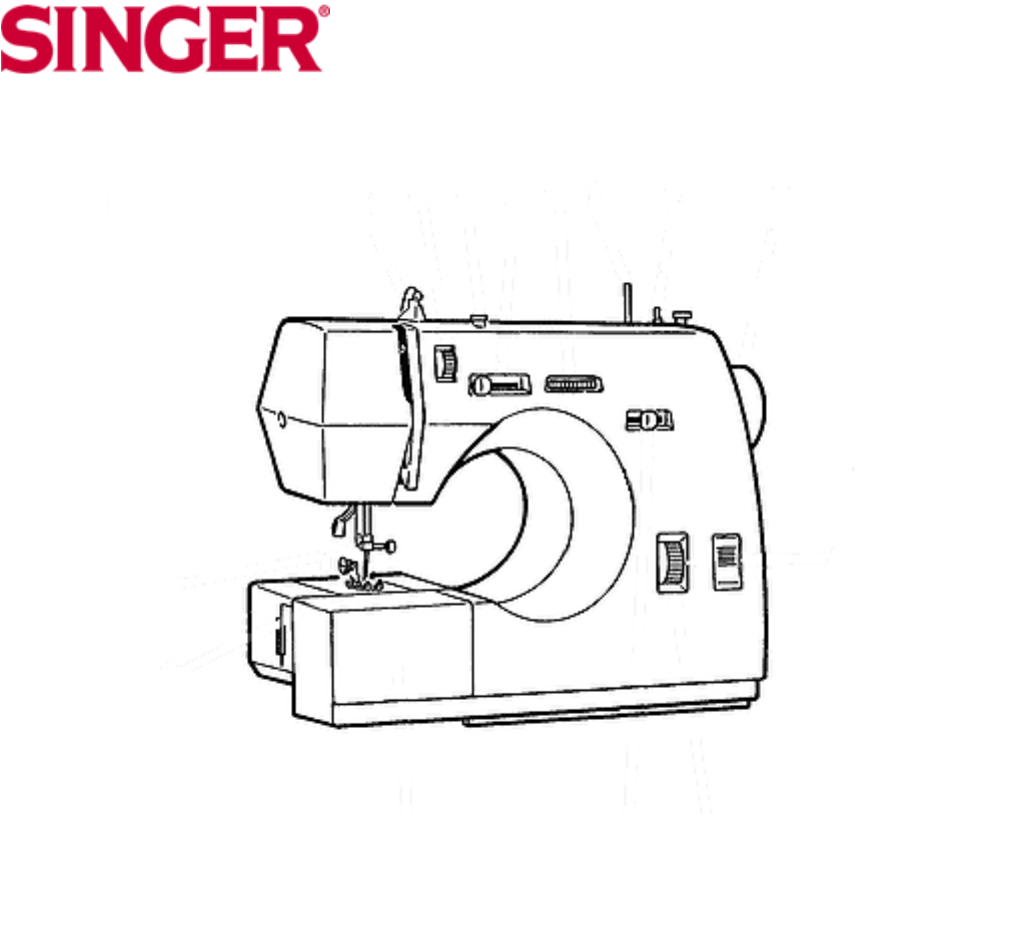
2 & 5 Stitch Pattern Machines PRINCIPAL PARTS 1. Spool pin 2. Bobbin winder 3. Handwheel 4. Reverse button 5. Stitch length dial 6. Needle positio
Page 29
2 & 5 Stitch Pattern Machines STANDARD ACCESSORIES INCLUDED WITH MACHINE Note: Accessories are stored inside Extension table. 7
Page 30
2 & 5 Stitch Pattern Machines CONNECTING MACHINE Before plugging in your machine, be sure that the voltage and number of cycles indicated
Page 31
2 & 5 Stitch Pattern Machines CHOOSING AND CHANGING NEEDLES IMPORTANT: For best sewing results, use only Singer needles. Loosen needle cl
Related products and manuals for Sewing machines Singer 30215
Sewing machines Singer 4166 User Manual


 (104 pages)
(104 pages)
Sewing machines Singer 5511 User Manual
(63 pages)
(63 pages)
Sewing machines Singer 7025 User Manual
(47 pages)
(47 pages)
Sewing machines Singer 7412 User Manual
(69 pages)
(69 pages)
Sewing machines Singer CE-100 Futura User Manual
(100 pages)
(100 pages)
Sewing machines Singer CE-150 Futura User Manual
(127 pages)
(127 pages)
Sewing machines Singer HD110 User Manual
(46 pages)
(46 pages)
© 2020, manymanuals.com. All rights reserved. | 0.087 s |
 Manymanuals.com
 Manymanuals.de
 Manymanuals.fr
 Manymanuals.it
 Manymanuals.pl
 Manymanuals.cz
 Manymanuals.es
 Manymanuals-pt.com
Comments to this Manuals